Tile Installation Made Easy: Specialist Tips and Methods for Perfect Flooring
Tile Installation Made Easy: Specialist Tips and Strategies for Perfect Floor covering is a comprehensive guide that aims to simplify the often challenging process of ceramic tile setup. From picking the right floor tiles to preparing the subfloor, each aspect of the installment process is covered in information. The publication additionally gives skilled guidance on appropriate ceramic tile design, applying adhesive, and setting the tiles.

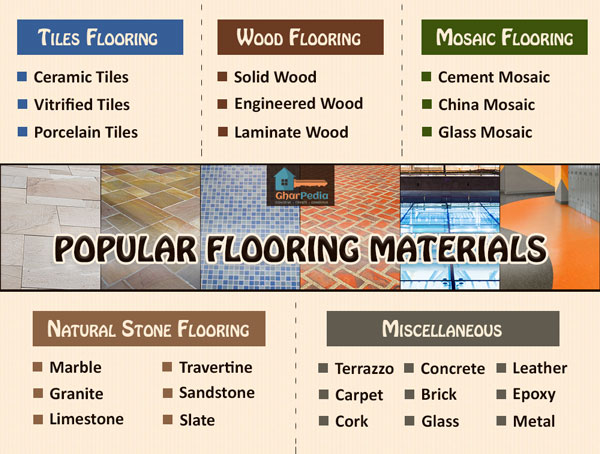
Choosing the Right Shingles
When choosing ceramic tiles for your floor covering task, it is important to consider their sturdiness, visual appeal, and viability for the designated space. Toughness is a vital variable to think about, particularly in high-traffic locations such as hallways and kitchen areas. Look for floor tiles that are rated for hefty usage and are resistant to scrapes, spots, and dampness. Porcelain and ceramic tiles are excellent selections in terms of resilience.

Moreover, the viability of the floor tiles for the desired area is essential. Certain ceramic tiles might be far better matched for restrooms due to their slip-resistant residential or commercial properties, while others may be a lot more ideal for outdoor areas due to their capability to hold up against extreme climate problems.
Making the effort to very carefully think about these elements will make sure that you pick ceramic tiles that not just fulfill your functional demands however likewise enhance the beauty and worth of your area.
Preparing the Subfloor
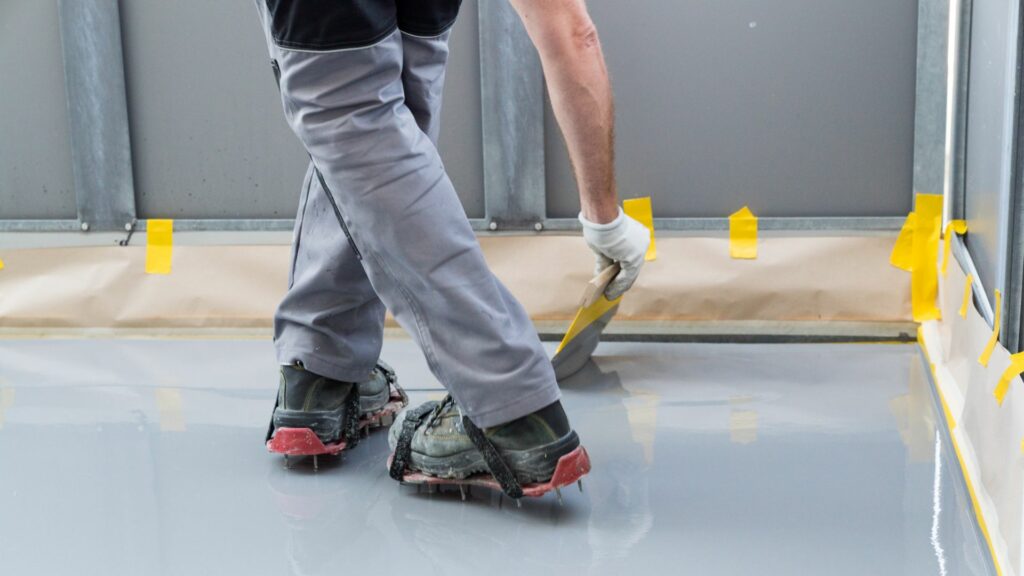
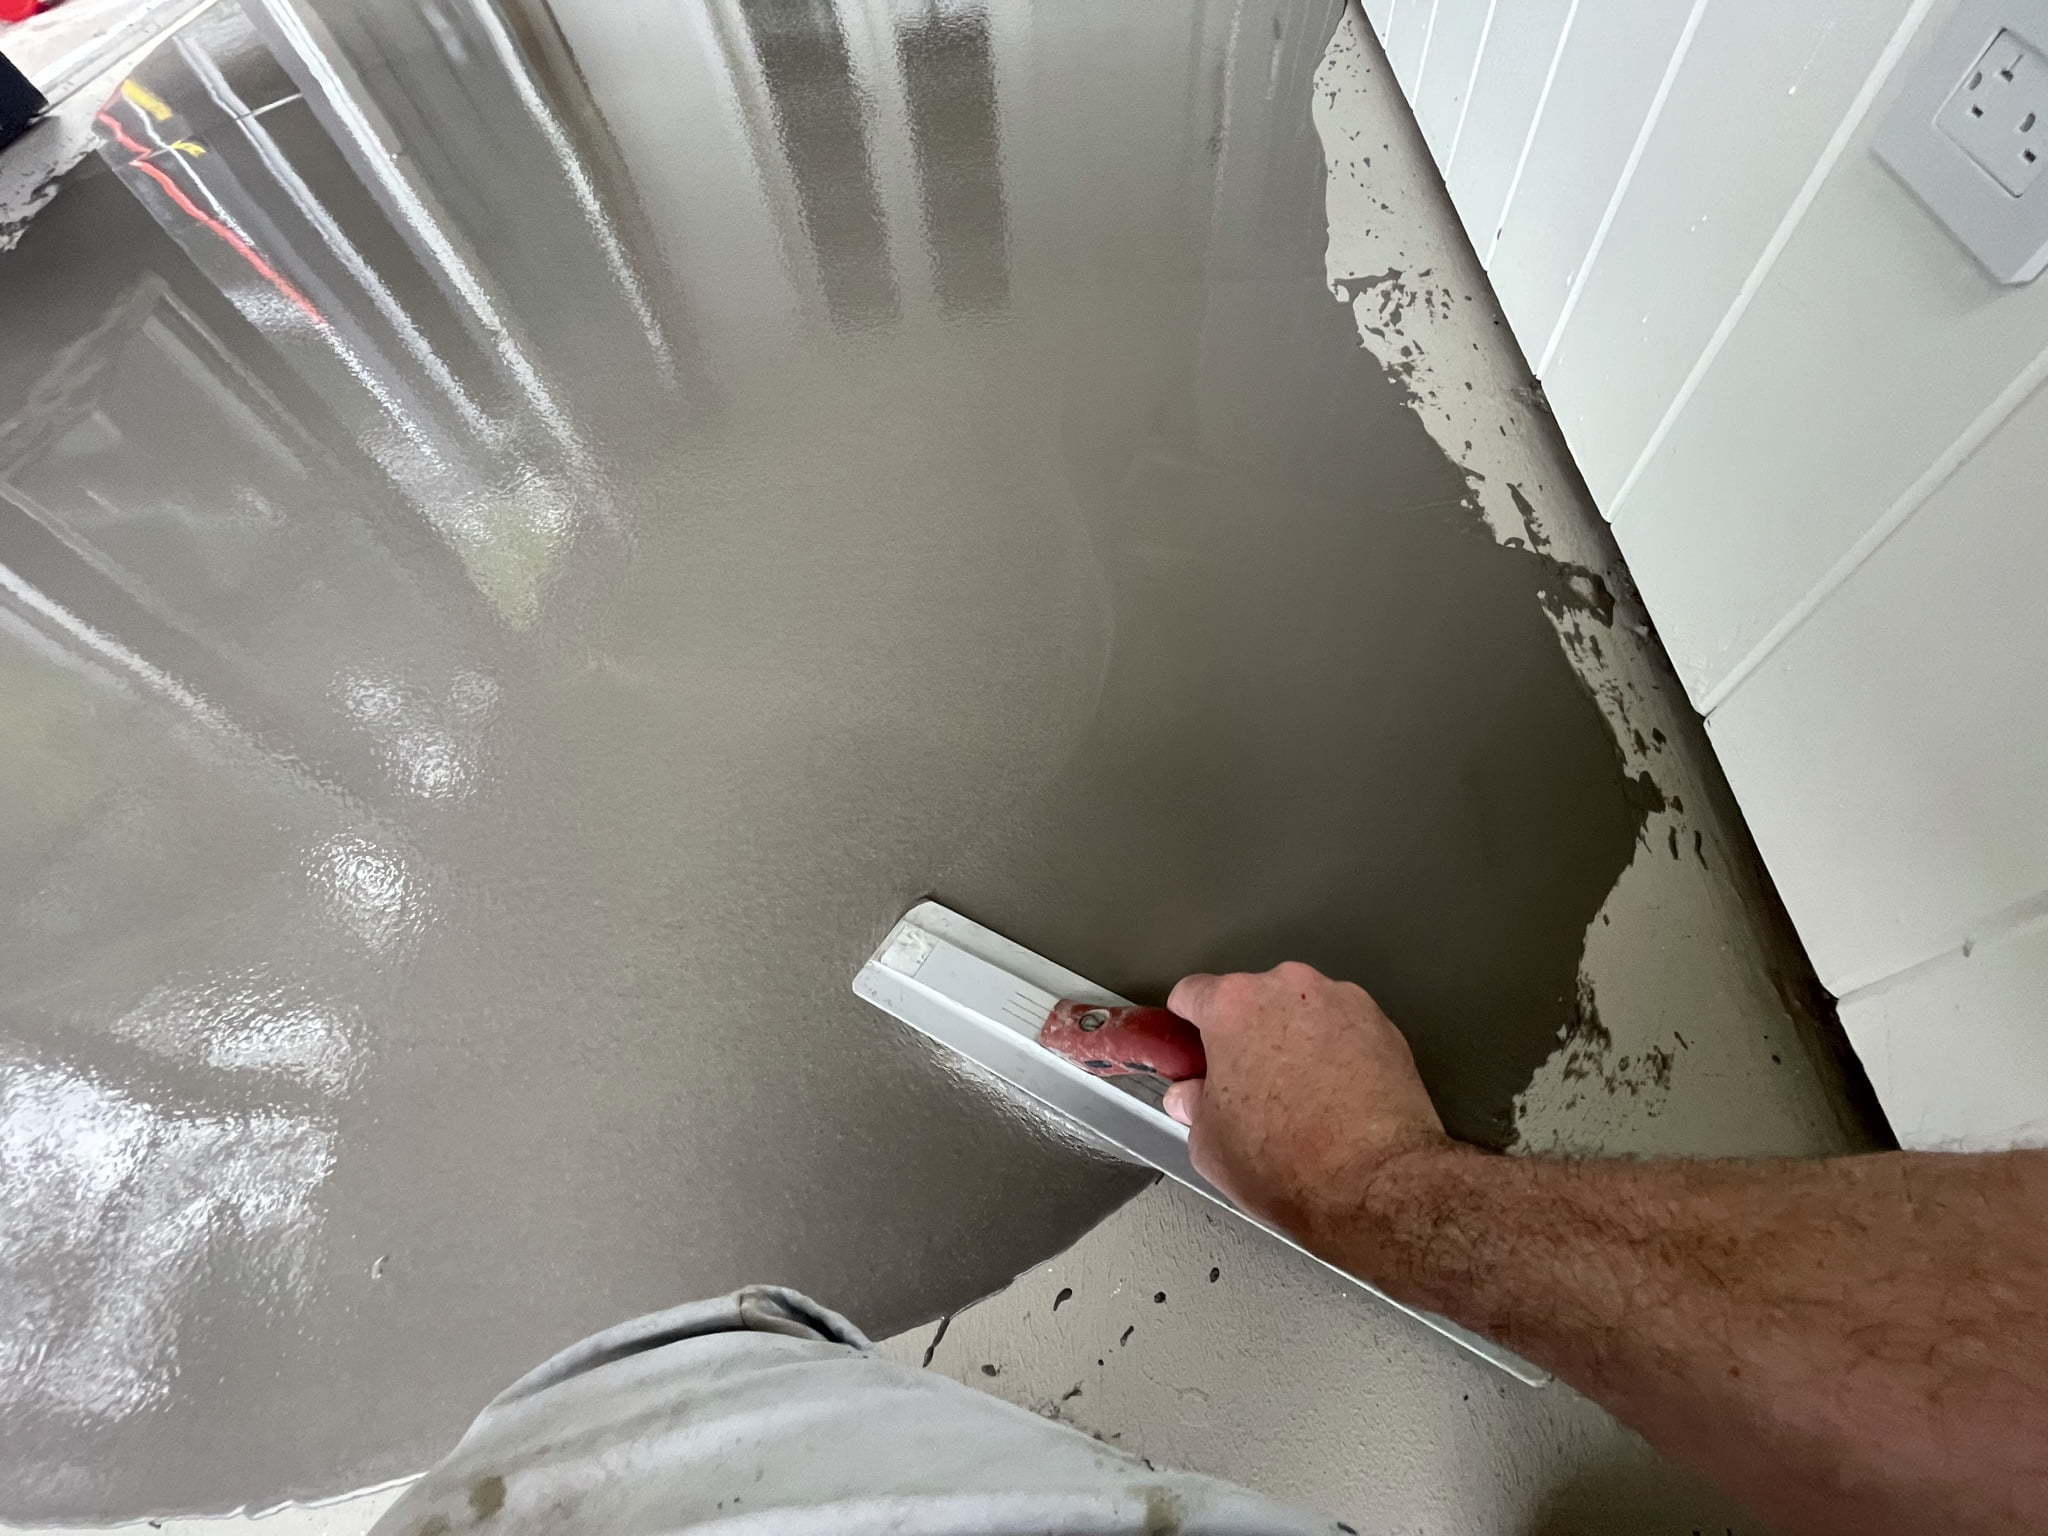
To guarantee a flawless ceramic tile installation, correct prep work of the subfloor is essential. The subfloor is the foundation on which the tiles are laid, and any type of imperfections or disproportion can lead to fractured or loose floor tiles down the line. It is critical to take the time to prepare the subfloor correctly.
The initial step in preparing the subfloor is to tidy and get rid of any kind of particles. This consists of sweeping or vacuuming the floor to remove dirt, dust, and loose fragments. It is vital to have a tidy and smooth surface area for the ceramic tiles to stick to.
Following, look for any kind of cracks or unequal areas in the subfloor. These ought to be repaired and leveled prior to waging the floor tile installation. This can be done by filling up in splits with an ideal filler and using a self-leveling substance to also out any unequal spots.
In addition to fixing splits and leveling the subfloor, it is also essential to make sure that the subfloor is dry and complimentary from wetness. Moisture can trigger tiles to become loose and even mold and mildew and mildew to create. austin tile flooring. Use a moisture meter to evaluate the subfloor's wetness degrees and deal with any kind of concerns before setting up the ceramic tiles
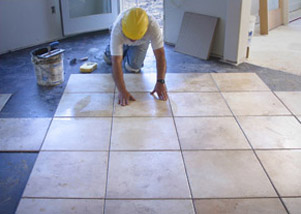
Making Certain Proper Ceramic Tile Format
Correctly preparing the design and intending of your floor tiles is crucial for achieving a flawless installation. The ceramic tile design not just influences the appearances of the flooring however likewise figures out the effectiveness of the setup procedure. To make sure an appropriate floor tile Look At This format, there are a number of vital aspects to take into consideration.
To start with, it is crucial to measure and note the facility of the room precisely. This will certainly serve as the starting point for laying the ceramic tiles and will help create a balanced and balanced design. In addition, it is essential to take into consideration any type of building attributes or challenges in the area, such as entrances or fixtures, and intend the design as necessary.
In addition, consider the shapes and size of the floor tiles when figuring out the design. Various tile sizes and patterns can produce numerous aesthetic impacts, and it is vital to choose a format that improves the overall design of the space. It is also suggested to make use of ceramic tile spacers to ensure constant spacing between each floor tile, leading to a polished and specialist look.
Lastly, before starting the setup, it is advised to dry-fit the floor tiles without adhesive to get a graph of the final design. This permits corrections and changes to be made before the actual installment, saving time and decreasing errors.
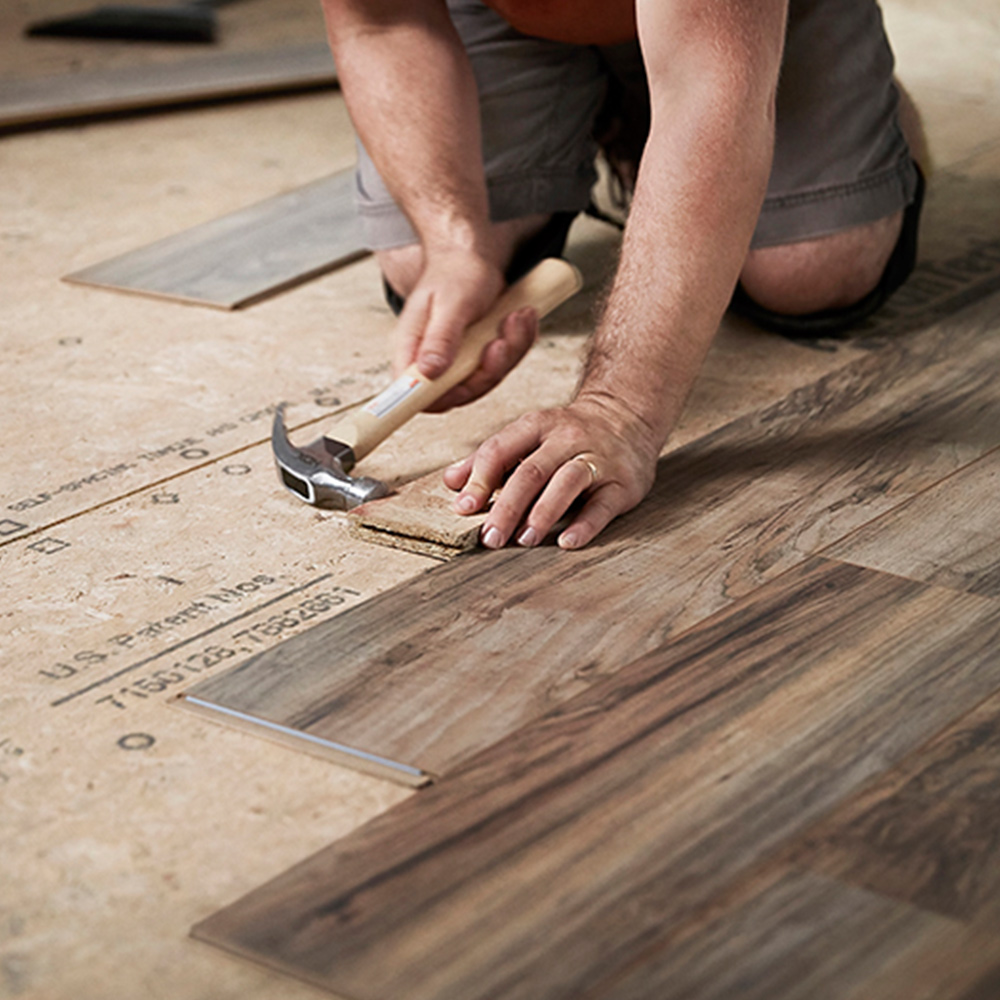
Using Adhesive and Setting the Tiles
The application of glue and the setup of ceramic tiles is a crucial step in achieving a sturdy and professional tile installment. Effectively using adhesive makes certain that the ceramic tiles stick safely to the surface area, preventing them from changing or ending up being loosened over time.
When using the sticky, it is critical to follow the recommended protection guidelines. Applying too much adhesive can create an unequal about his surface and create the floor tiles to rest erratically, while using also little adhesive might result in not enough bonding.
When the adhesive has been applied, carefully press each tile into area, making certain to straighten them appropriately. Utilize a small twisting activity to make certain complete contact with the adhesive and get rid of any type of excess adhesive that may squeeze out from in between the floor tiles. It is essential to work in little areas to stop the sticky from drying prior to the tiles are set.
After the ceramic tiles are established, it is advised to wait for the sticky to heal fully before grouting. This will help to guarantee a long-lasting and solid ceramic tile setup. Complying with these steps will aid to achieve a expert and resilient tile installation that will certainly stand the examination of time.
Grouting and Finishing Touches
After the ceramic tiles have been set and the adhesive has actually fully healed, the next action in attaining an expert tile setup is grouting and using the finishing touches. Grouting is the procedure of filling up the spaces between the tiles with a cement-based grout. This not just boosts the aesthetic charm of the tiled surface area however additionally supplies security and stops water infiltration.

Once the cement has dried out, a grout sealant can be applied to protect the cement from spots and moisture. Get More Info This ending up touch helps to lengthen the life of the cement and keep the total appearance of the tiled surface area.
Along with grouting, there are other finishing touches that can be used to enhance the final appearance of the ceramic tile installation. This consists of applying caulk around corners and edges to give a completed and waterproof seal. Trim items can likewise be installed to give a clean shift in between the tiled surface area and adjacent locations.
Conclusion
In conclusion, mounting ceramic tiles can be made less complicated by adhering to expert pointers and techniques. Choosing the ideal floor tiles, preparing the subfloor, guaranteeing proper floor tile layout, and using adhesive and establishing the floor tiles are all important actions in achieving excellent floor covering.
Ceramic Tile Setup Made Easy: Expert Tips and Strategies for Perfect Floor covering is a detailed guide that aims to streamline the often challenging process of floor tile installment. The book additionally gives expert recommendations on correct tile layout, applying adhesive, and setting the ceramic tiles.The application of sticky and the setup of floor tiles is a crucial action in attaining a professional and long lasting floor tile installation.After the floor tiles have been established and the adhesive has fully treated, the next action in accomplishing a professional tile installation is grouting and using the completing touches. Selecting the best ceramic tiles, preparing the subfloor, making certain correct ceramic tile format, and using sticky and setting the floor tiles are all important actions in attaining best floor covering.